Push notifications with CrossMobile 2.6 onwards
Prepare the project to support push notifications
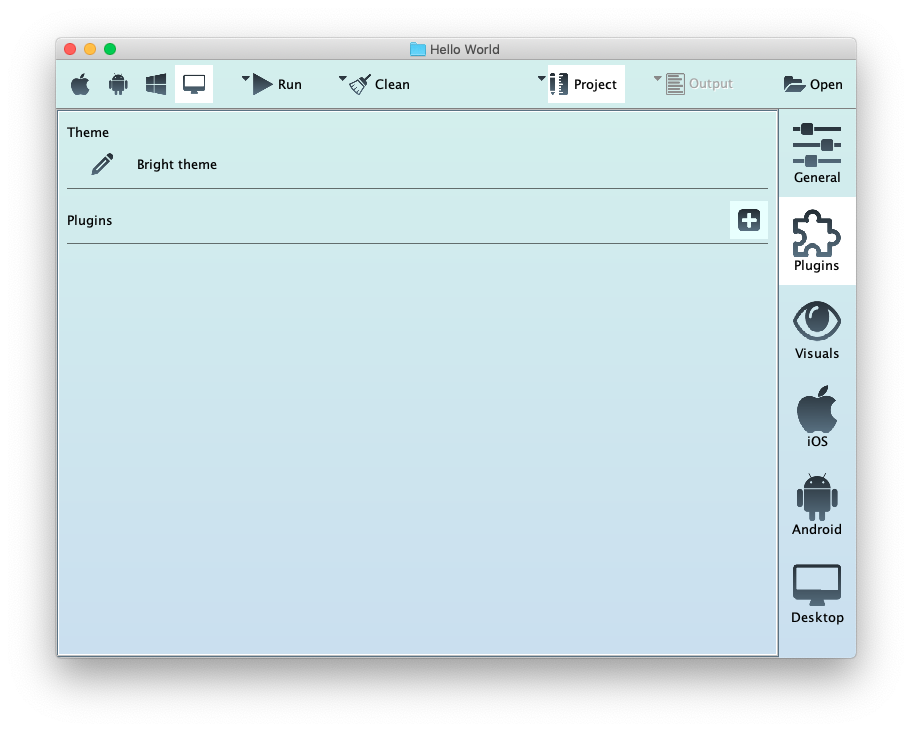
First open your project from the CrossMobile application and go to Plugins tab. Press the add button (with the plus sign) in the plugins section.
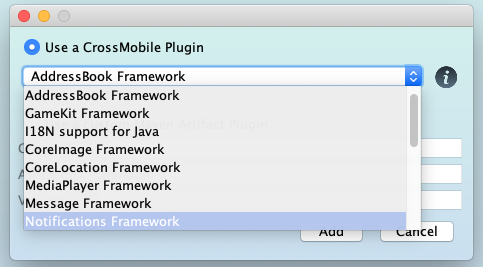
From the dropdown list under “Use a CrossMobile Plugin” choose Notifications Framework and press Add.
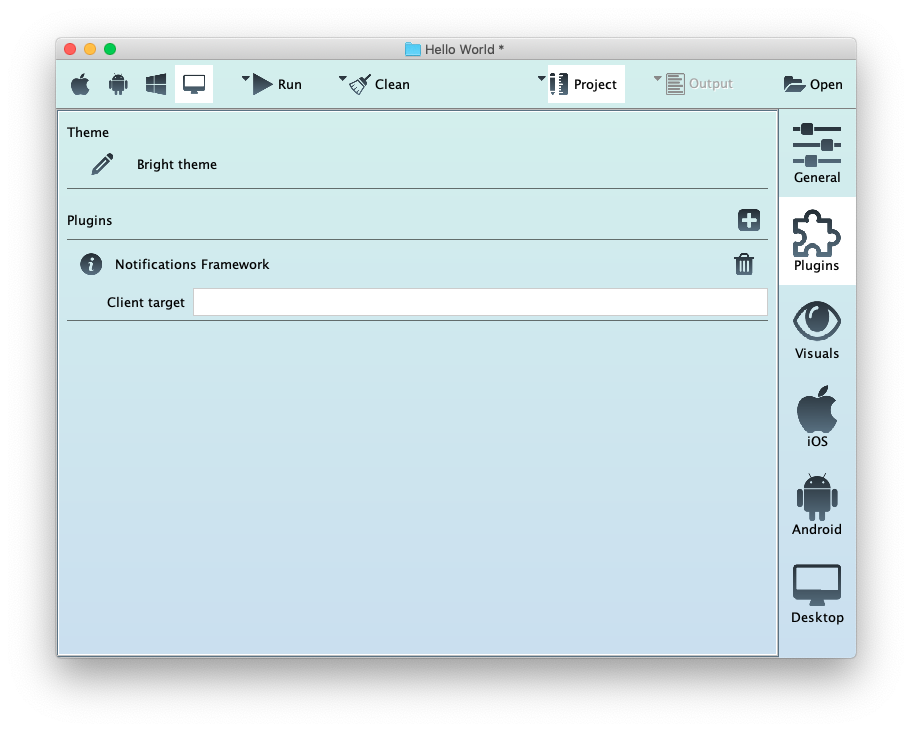
Your active Plugins will be visible in the Plugins section. If you want to remove a plugin press the garbage can icon next to it.
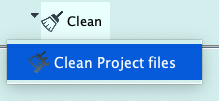
After adding the plugin it is required to remove all build files. If you have edited the build files by hand, make sure to back up it first. Then click on the triangle nexto the Clean icon and select Clean Project files:
Implement push notifications in your code
To register your app for push notifications go to the ApplicationDelegate class, with code similar to this:
@Override
public boolean didFinishLaunchingWithOptions(UIApplication app, Map<String, Object> launchOptions) {
    // ...
    UNUserNotificationCenter.currentNotificationCenter().requestAuthorizationWithOptions(UNAuthorizationOptions.Alert | UNAuthorizationOptions.Badge | UNAuthorizationOptions.Sound, (success, error) -> {
        if (success)
            UNUserNotificationCenter.currentNotificationCenter().getNotificationSettingsWithCompletionHandler(settings -> {
                if (settings.authorizationStatus() != UNAuthorizationStatus.Authorized)
                    return;
                UIApplication.sharedApplication().registerForRemoteNotifications();
            });
    });
    // ...
    return true;
}
First we need to get an instance to current Notification Center and then request authorization. This method is either successful, or returns the corresponding error.
If the process is successful, it is suggested to get the current notification settings and then register for remote notifications, through the registerForRemoteNotifications() method.
Next step is to implement two more methods in Application Delegate:
    @Override
    public void didRegisterForRemoteNotificationsWithDeviceToken(UIApplication app, NSData deviceToken) {
        registerToMyServer(deviceToken.bytes());
    }

    @Override
    public void didReceiveRemoteNotification(UIApplication app, Map<String, Object> userinfo) {
        System.out.println(userinfo.get("body"));
    }
After communication with push notification servers, the method didRegisterForRemoteNotificationsWithDeviceToken will be called and return to the user the NSData with the device token. Use this blob of data, to communicate with the Push notification servers.
Set-up Firebase for Android targets
For Android CrossMobile uses FireBase as a backend and the token on your server might need to be converted from UTF-8 bytes to String first.
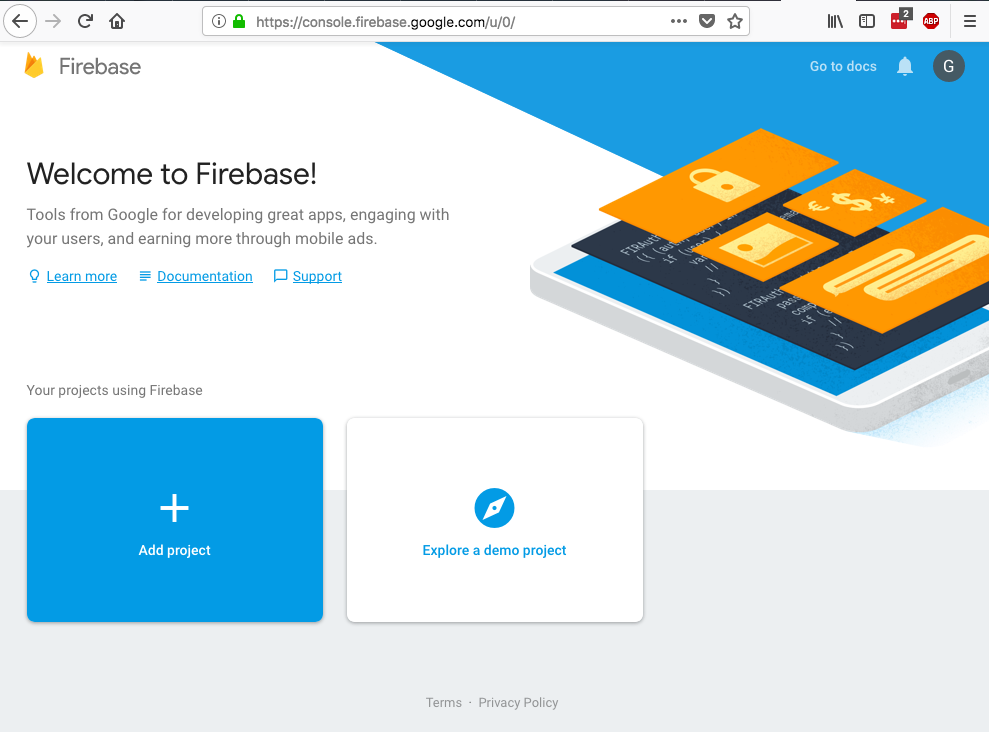
Go to FireBase Console click Add project
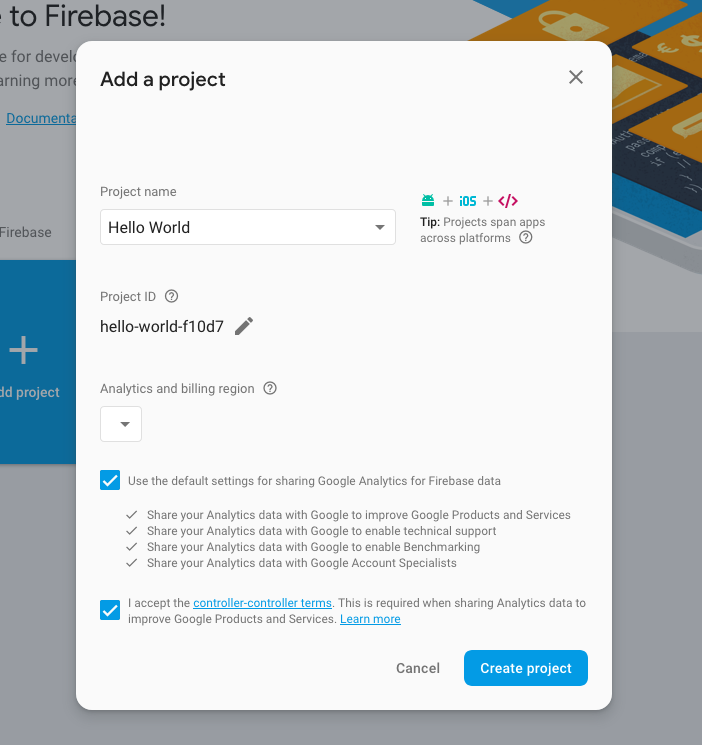
Put your Projects name and click create project.
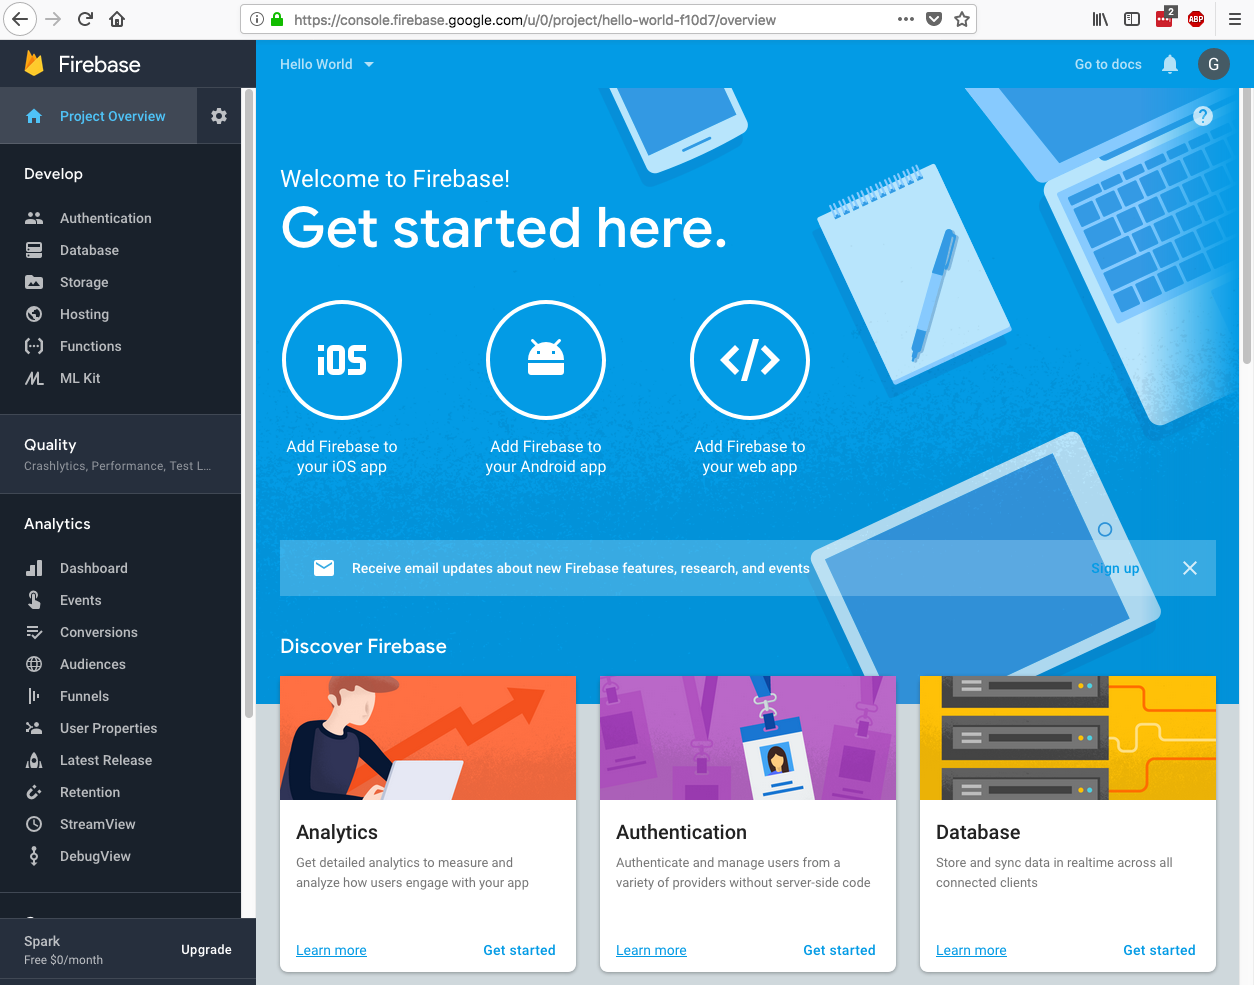
From FireBase Project OverView click Add Firebase to your Android app
Add your project’s package name and press Register app
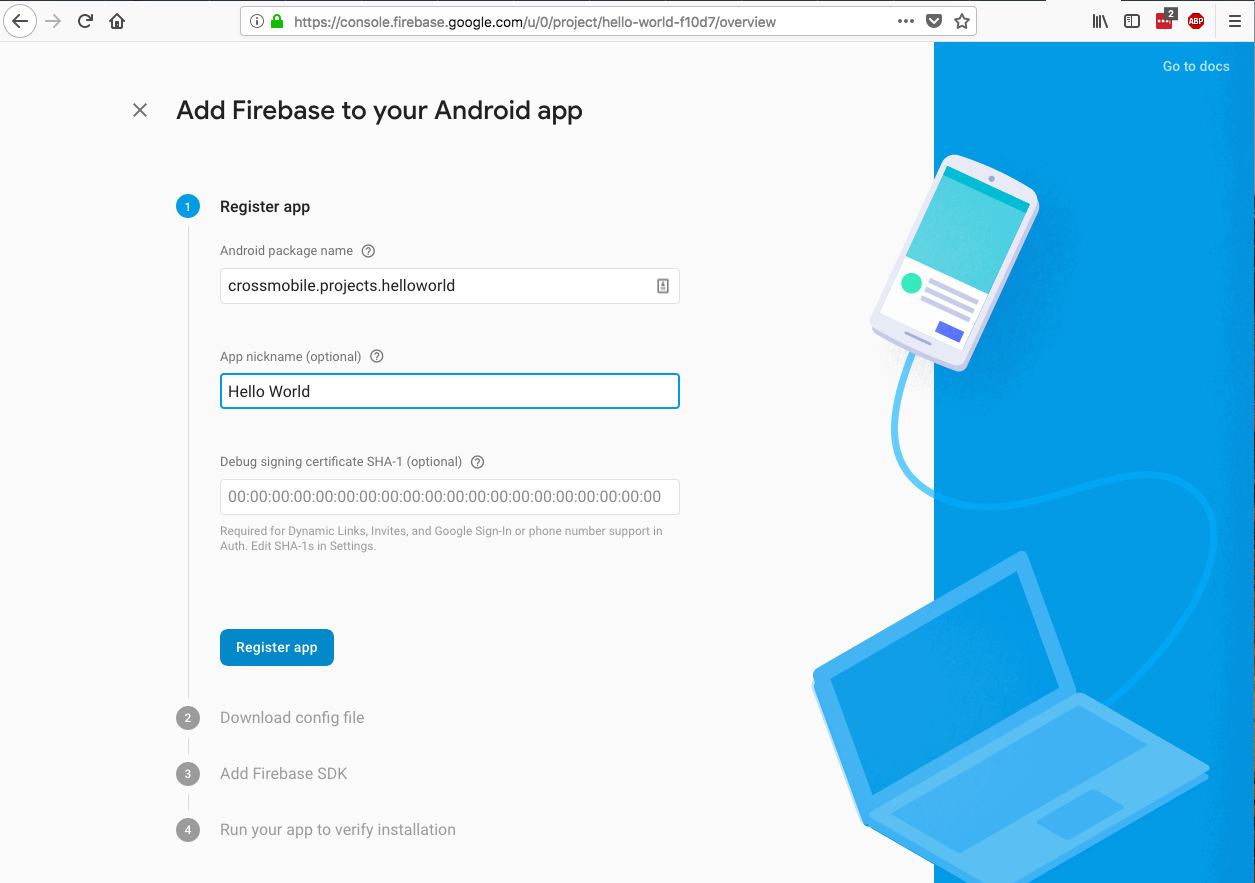
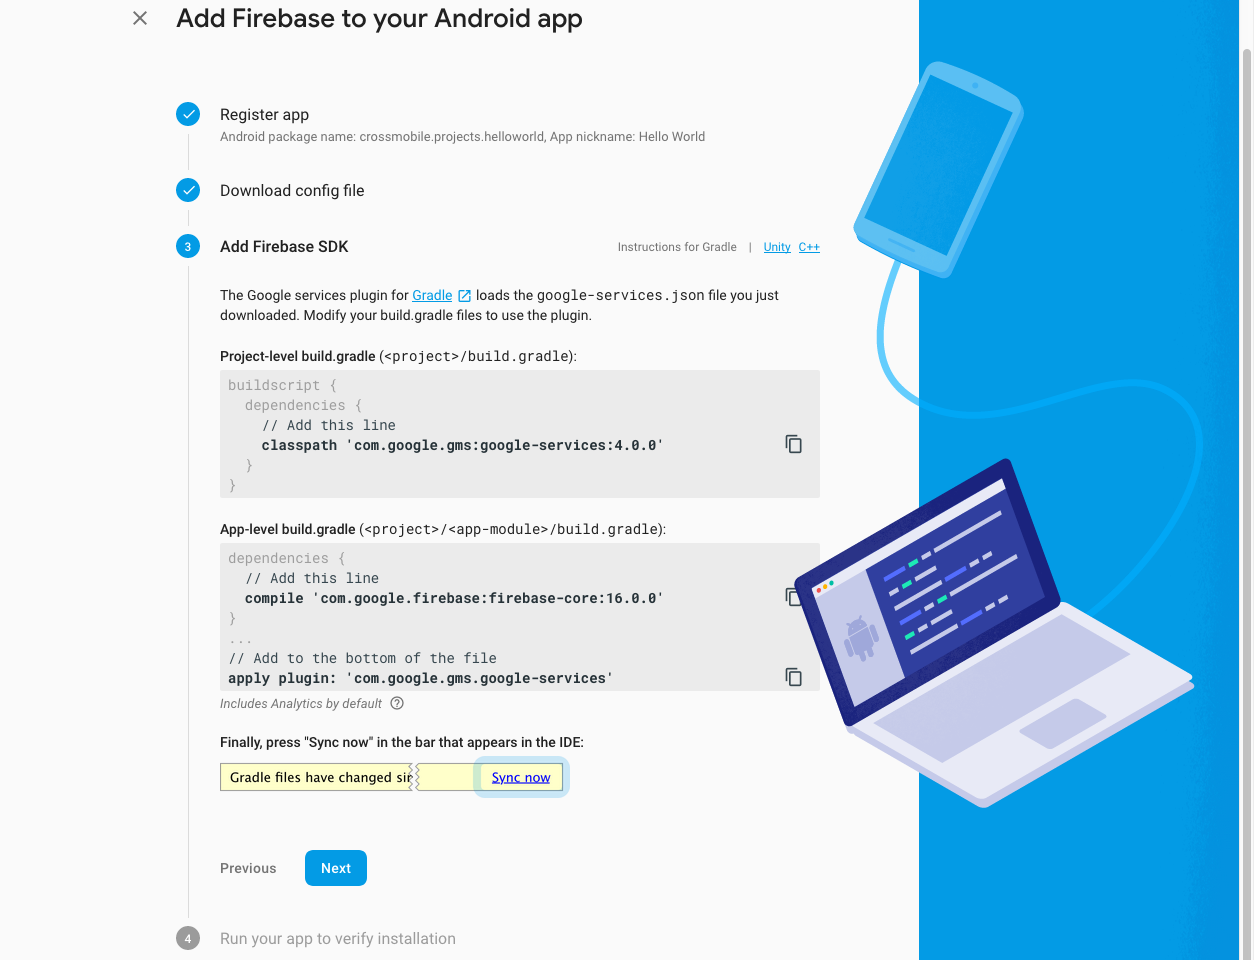
Download google-services.json and add it to your projects root directory.

We have already made all the required changes to the gradle script. Press Next.
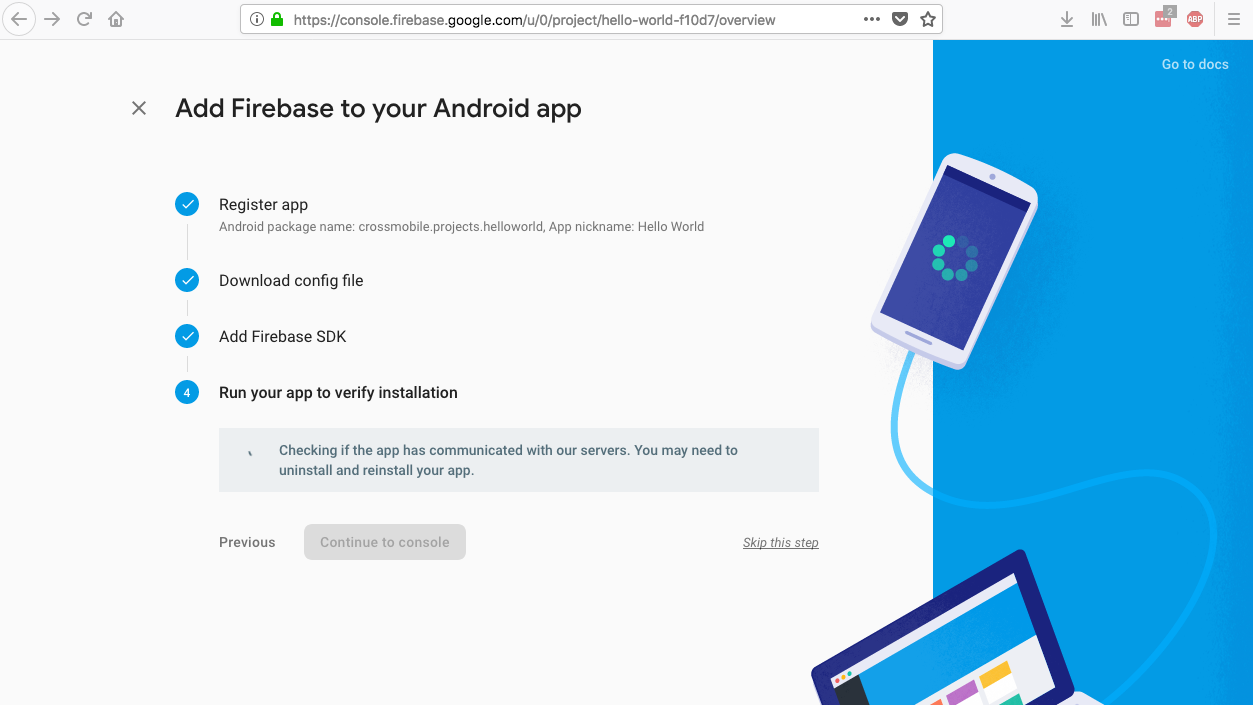
Go to your crossmobile project and build and run to an android device to finish project registration.
You can now send push notifications to your Android app through Firebase